

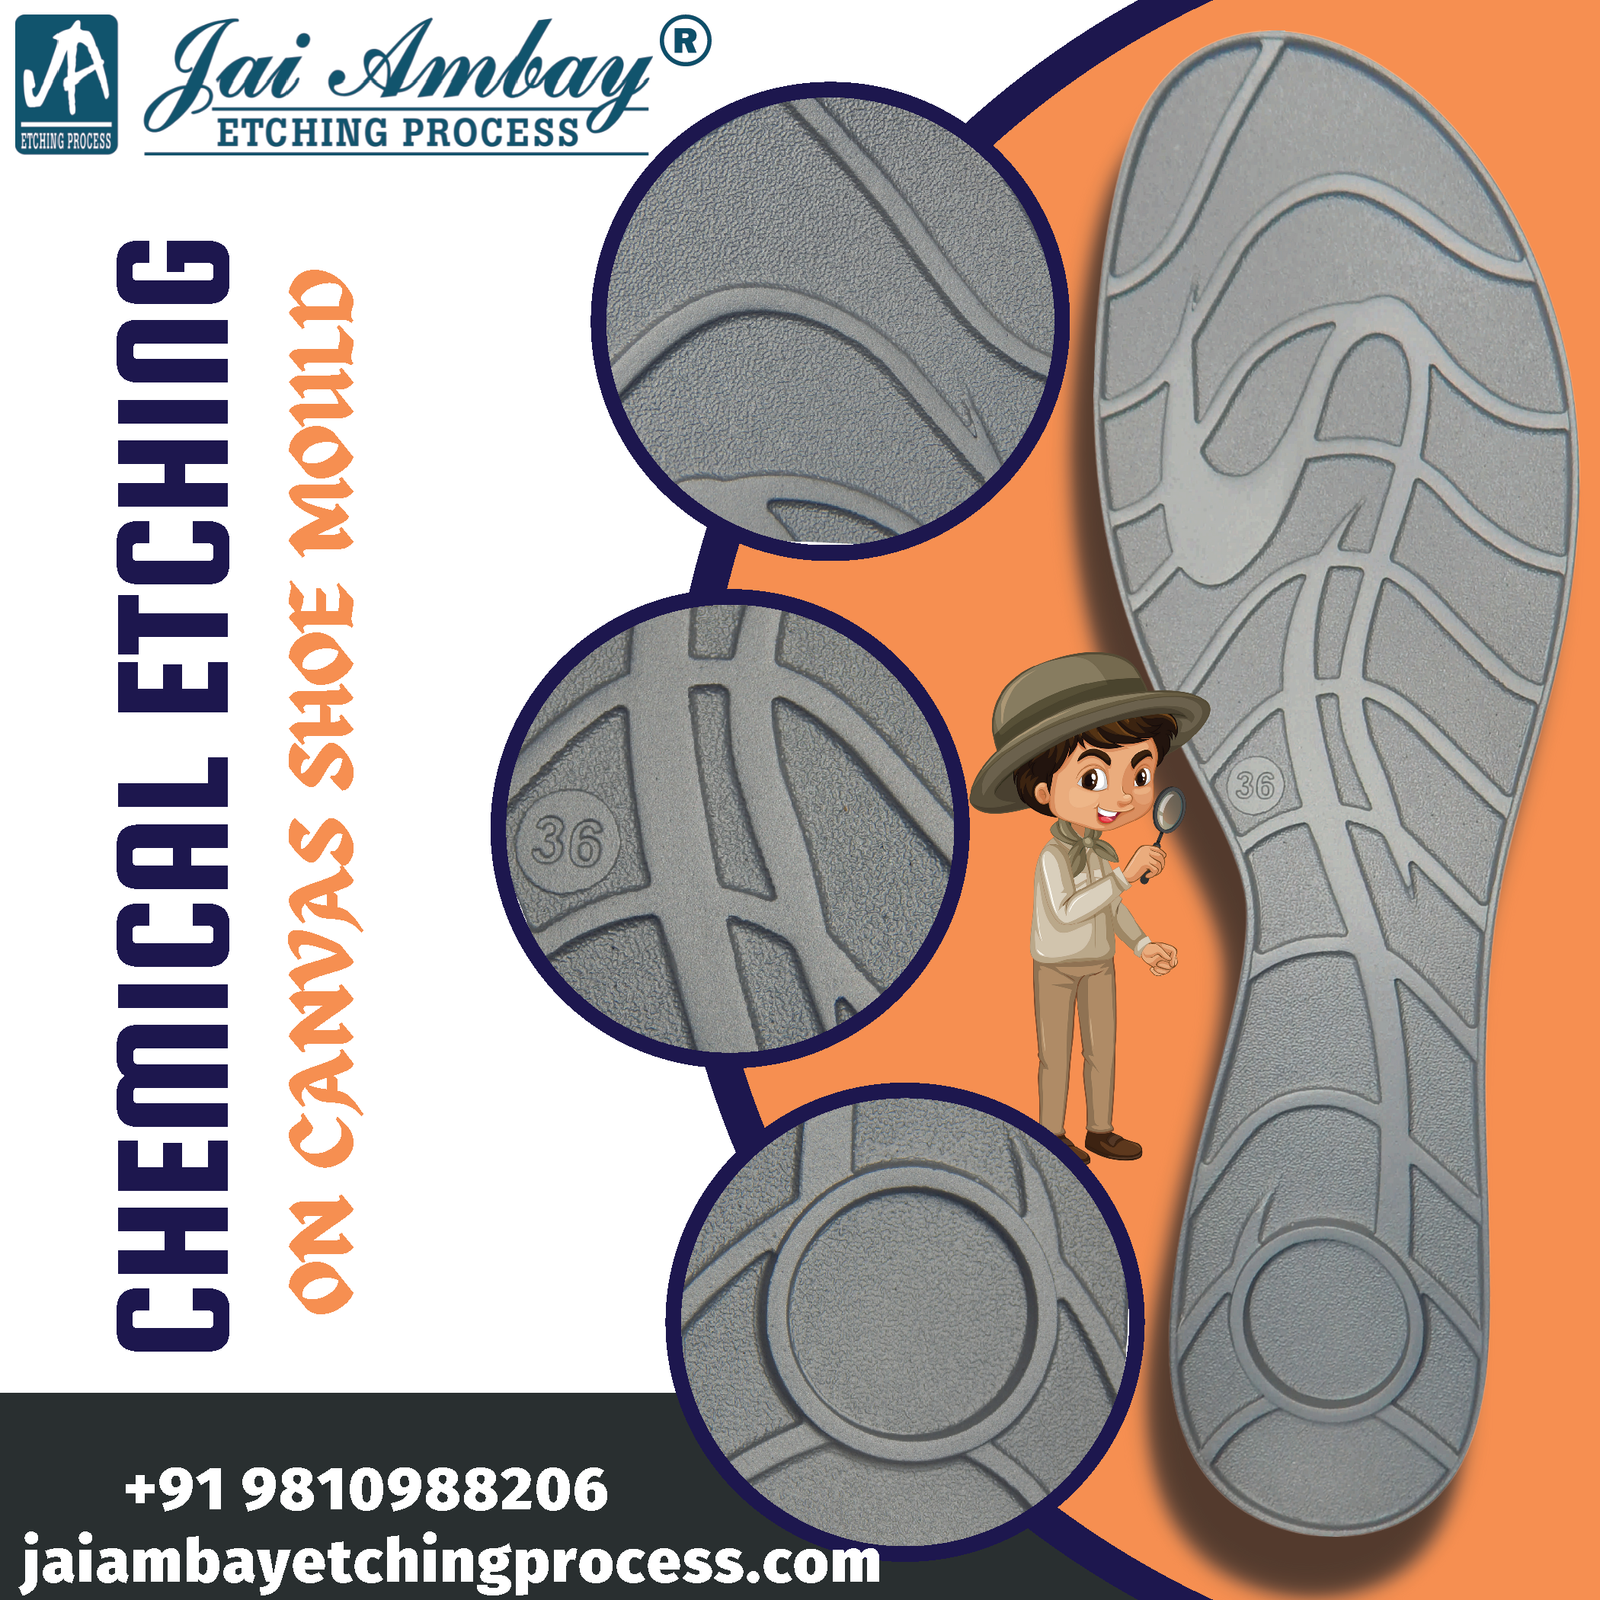
Chemical Etching : Process, Benefits, and Surface Preparation
The surface of a mould plays an important role in its final finish and performance. When a mould needs a grain, pattern, matte finish, or custom texture, chemical etching is one of the proven methods used to create it.
The process has been used in mould finishing for many years. It can create fine textures, deep grains, and patterns on simple as well as large mould surfaces. However, getting a good result requires more than applying chemicals. The mould must be properly inspected, cleaned, prepared, masked, etched, and checked.
A professional chemical etching service considers the mould shape, required texture, depth, surface condition, and other finishing requirements before work begins.
This guide explains how chemical etching works, its benefits, limitations, applications, surface preparation, and how services such as mould polishing, laser engraving, and E-Coating can be part of a complete mould finishing solution.
What Is Chemical Etching?
Chemical etching is a controlled process used to create a texture or pattern on the surface of a mould.
First, the mould surface is prepared. Areas that should not be etched are protected with a masking layer. The required texture design is prepared on the areas that need etching.
Special chemicals react with the exposed mould surface and remove a controlled amount of metal. This creates the required grain, pattern, or texture.
After the required depth is achieved, the mould is cleaned and inspected.
The basic process includes:
- Mould inspection
- Surface cleaning and preparation
- Masking selected areas
- Preparing the texture pattern
- Chemical etching
- Cleaning
- Texture inspection
- Final finishing, if required
Every stage matters. Poor preparation or incorrect process control can affect texture quality.
How Does the Chemical Etching Process Work?
Understanding the process makes it easier to see why experience is important.
1. Mould Inspection
Before chemical etching begins, the mould surface should be checked carefully.
The inspection can identify:
- Scratches
- Rust
- Old texture
- Polishing marks
- Repair marks
- Uneven areas
- Surface damage
These problems may need correction before etching.
2. Mould Surface Preparation
A texture cannot hide every surface problem. In many cases, the surface needs mould polishing before the etching process begins.
The required polishing level depends on the texture.
A properly prepared surface gives the etching process a clean and even base.
3. Masking
Not every part of a mould needs texture.
Areas that should remain smooth are covered and protected. Careful masking helps keep the texture within the required area and protects nearby mould surfaces.
4. Creating the Pattern
The required grain or texture design is prepared on the mould.
This stage controls where the chemicals will act and where the surface will remain protected.
5. Chemical Etching
The etching chemical is applied to the exposed areas.
It slowly removes a controlled amount of metal from the mould surface. The process continues until the required texture depth and appearance are achieved.
Deep patterns may require more process control than fine textures.
6. Cleaning and Inspection
After etching, the mould is thoroughly cleaned.
The team checks the texture depth, pattern consistency, boundaries, and overall appearance.
Why Is Chemical Etching Used for Moulds?
Chemical etching remains useful because it can create many types of mould textures.
It can be suitable for:
- Fine grains
- Matte textures
- Leather-style grains
- Natural-looking patterns
- Deep textures
- Large textured areas
- Custom surface patterns
It is also useful for some very large moulds where the size may be beyond the working area of a laser texturing machine.
The right process should always depend on the mould and texture requirement rather than choosing one texturing method for every project.
Benefits of a Professional Chemical Etching Service
A professional chemical etching service offers several benefits when the process is suitable for the mould.
Wide Choice of Textures
Chemical etching can create different grains, patterns, and depths. This gives manufacturers flexibility when selecting a mould surface.
Suitable for Large Mould Surfaces
The process can work well for large mould surfaces where machine size may limit some other texturing processes.
Fine and Deep Patterns
Depending on the mould and design, chemical etching can create both fine surface patterns and deeper grains.
Controlled Texture Areas
Masking allows selected mould areas to receive texture while other areas remain smooth.
Proven Process
Chemical etching has been used for mould texturing for many years. Experienced service providers understand how masking, surface preparation, process time, and texture depth affect the result.
Important Limitations of Chemical Etching
A good chemical etching service should also explain where the process has limitations.
Visible Texture Joint Lines
This is an important point.
With chemical etching, there is a chance that texture joint impressions or lines may be visible on the mould.
This can be more noticeable on large or complex surfaces where different pattern areas need to meet.
If a seamless surface is a major requirement, the service provider should review the mould and texture design before recommending the process.
Process Variation
Chemical etching depends on several factors, including surface preparation, masking, chemical condition, and process control.
Proper experience and inspection are therefore important for maintaining a consistent result.
Complex Curved Areas Need Careful Planning
Deep pockets, ribs, steep side walls, and complex curves can require additional planning.
For some complex mould shapes, modern 5-axis laser texturing may offer better control.
Chemical Etching vs Laser Texturing for Moulds
Chemical etching and laser texturing can both create mould textures, but they work differently.
Chemical etching uses controlled chemical reactions. Laser texturing follows a digital design and uses a laser beam to remove material from selected areas.
Chemical etching can be a practical choice for:
- Very large mould surfaces
- Certain deep grains
- Some natural-looking textures
- Projects where chemical etching suits the required pattern
Laser texturing can be useful when the project requires:
- High digital repeatability
- Seamless textures
- Fine pattern control
- Consistency across multiple cavities
- Complex curved mould surfaces
Modern 5-axis laser systems can adjust the laser head and mould position while working. This helps them texture curved surfaces, ribs, side walls, and deep areas.
Neither process should be selected only because it is newer or older. The correct choice depends on the mould design and required texture.
Why Mould Polishing Matters Before Chemical Etching
Mould polishing is an important part of surface preparation.
If the mould has scratches, old texture, uneven polishing, or repair marks, these problems can affect the new texture.
Polishing helps create a controlled base before chemical etching begins.
However, the mould should not simply receive the highest possible polish. The required polishing level should match the texture that will be applied.
This is why the polishing and texturing teams should understand the complete finishing requirement before starting work.
Chemical Etching and Laser Engraving: When Are They Used?
Laser engraving and chemical etching perform different jobs, but both can be part of mould surface finishing.
Laser engraving can create:
- Logos
- Fine patterns
- Text
- Identification marks
- Detailed designs
- 3D relief designs
For projects that require both texture and detailed engraving, the process order should be planned before work starts.
For example, polishing, chemical etching, and laser engraving should not be treated as separate jobs without considering how one process may affect another.
A professional service provider should decide the correct order based on the mould and required result.
Where Does E Coating Fit Into Mould Finishing?
ECoating is different from chemical etching.
Chemical etching changes the mould surface to create a texture, while e coating is a coating process used when a specific protective surface treatment is required.
If a mould project needs both surface texturing and a coating, the complete process should be planned in advance.
The service provider should consider:
- Required texture
- Surface condition
- Coating requirement
- Areas that need protection
- Final surface result
- Correct order of processes
Applying processes in the wrong order can create unnecessary rework.
Common Problems in Chemical Etching and How to Reduce Them
Several problems can affect the final texture if the mould is not properly prepared or the process is poorly controlled.
Uneven Texture
An uneven starting surface can lead to an uneven final texture.
Solution: Inspect and prepare the mould before etching.
Visible Joint Marks
Texture joint impressions may appear where pattern sections meet.
Solution: Review the texture layout and mould geometry before starting. If seamless texturing is essential, discuss whether laser texturing is more suitable.
Poor Texture Boundaries
Texture can look untidy where textured and smooth areas meet.
Solution: Use careful masking and clearly define texture boundaries.
Existing Surface Defects
Scratches, old texture, or repair marks may remain visible after texturing.
Solution: Use the correct mould polishing and surface preparation process first.
Wrong Texture Depth
A texture that is too deep or too light may not meet the required result.
Solution: Confirm the texture sample, depth, and mould requirements before processing.
Applications of Chemical Etching on Moulds
Chemical etching can be used on moulds that require decorative or functional surface patterns.
Common mould applications include:
- Automotive interior moulds
- Dashboard moulds
- Door trim moulds
- Home appliance moulds
- Consumer product moulds
- Electronic housing moulds
- Packaging moulds
- Handle and grip moulds
- Decorative moulds
- Large panel moulds
Each mould may require a different texture, depth, and preparation method.
The texture should therefore be selected according to the actual mould rather than using the same grain for every project.
How to Choose a Chemical Etching Service
Choosing the right chemical etching service is just as important as selecting the texture.
Before sending a mould, check whether the provider can:
- Inspect the mould before work
- Understand the required texture
- Recommend proper surface preparation
- Provide mould polishing when required
- Control texture depth
- Handle masking correctly
- Work on large and complex moulds
- Inspect the texture after completion
- Provide other mould finishing services when needed
It is also useful to choose a provider that understands both traditional and modern mould finishing processes.
A provider that offers chemical etching, laser texturing, laser engraving, and mould polishing can review the complete requirement instead of treating every mould as an etching job.
Why Experience Matters in Chemical Etching
Machines and chemicals alone do not guarantee a good mould texture.
Experience matters because every mould can have a different shape, surface condition, texture depth, and finishing requirement.
An experienced team knows what to check before starting the work. It can also identify areas where masking, polishing, texture joints, or complex geometry may create problems.
This practical knowledge helps reduce avoidable errors and rework.
Chemical Etching Service at Jai Ambay Etching Process
Jai Ambay Etching Process has over 30 years of hands-on experience in mould texturing and surface finishing.
We provide mould-focused services such as:
- Chemical etching
- 5-axis laser texturing
- Mould polishing
- 3D laser engraving
- Laser marking
- Surface finishing
- E-Coating solutions where suitable
Our team first studies the mould surface, shape, texture requirement, and required finish. We recommend a process according to the actual mould requirement.
Having different mould finishing processes available also makes it easier to select the right solution instead of using chemical etching for every project.
What to Share Before Sending a Mould for Chemical Etching
Providing clear information can save time and reduce confusion.
Before requesting a quotation, share:
- Mould photographs
- Mould dimensions
- Areas that need texture
- Required texture sample or reference
- Required texture depth, if known
- Mould drawing, if available
- Existing surface condition
- Any polishing requirement
- Any engraving or marking requirement
If you are unsure about the texture, discuss the requirement before processing begins.
Conclusion
Chemical etching remains an important mould texturing process because it can create fine grains, deep textures, natural-looking patterns, and textures across large mould surfaces.
The quality of the result depends on much more than the chemical process itself. Correct surface preparation, mould polishing, masking, texture selection, depth control, and final inspection all play an important role.
Chemical etching also has limitations. Visible texture joint impressions may sometimes appear, and some complex mould surfaces may be better suited to modern laser texturing.
The best approach is to inspect the mould first and choose the process according to its actual requirements.
For professional chemical etching service, mould polishing, laser texturing, or laser engraving, Jai Ambay Etching Process can review your mould and recommend a suitable finishing process.
Frequently Asked Questions
What is chemical etching for moulds?
Chemical etching uses a controlled chemical process to remove a small amount from selected mould areas and create the required grain, pattern, or texture.
Is chemical etching suitable for large moulds?
Chemical etching can be suitable for large mould surfaces, especially where the mould size is beyond the working area of some laser texturing machines.
Can chemical etching leave visible joint lines?
Yes, texture joint impressions or lines may sometimes be visible on the mould, especially where different texture sections need to meet.
Does a mould need polishing before chemical etching?
If the mould has scratches, old texture, repair marks, or an uneven surface, mould polishing may be required before chemical etching.
What is the difference between chemical etching and laser engraving?
Chemical etching mainly uses a controlled chemical reaction to create mould textures. Laser engraving uses a laser to create detailed designs, logos, text, patterns, or 3D relief on the mould.
How do I choose a chemical etching service?
Choose a chemical etching service that can inspect the mould, understand texture depth and surface preparation, handle masking correctly, and provide related mould finishing processes when required.