


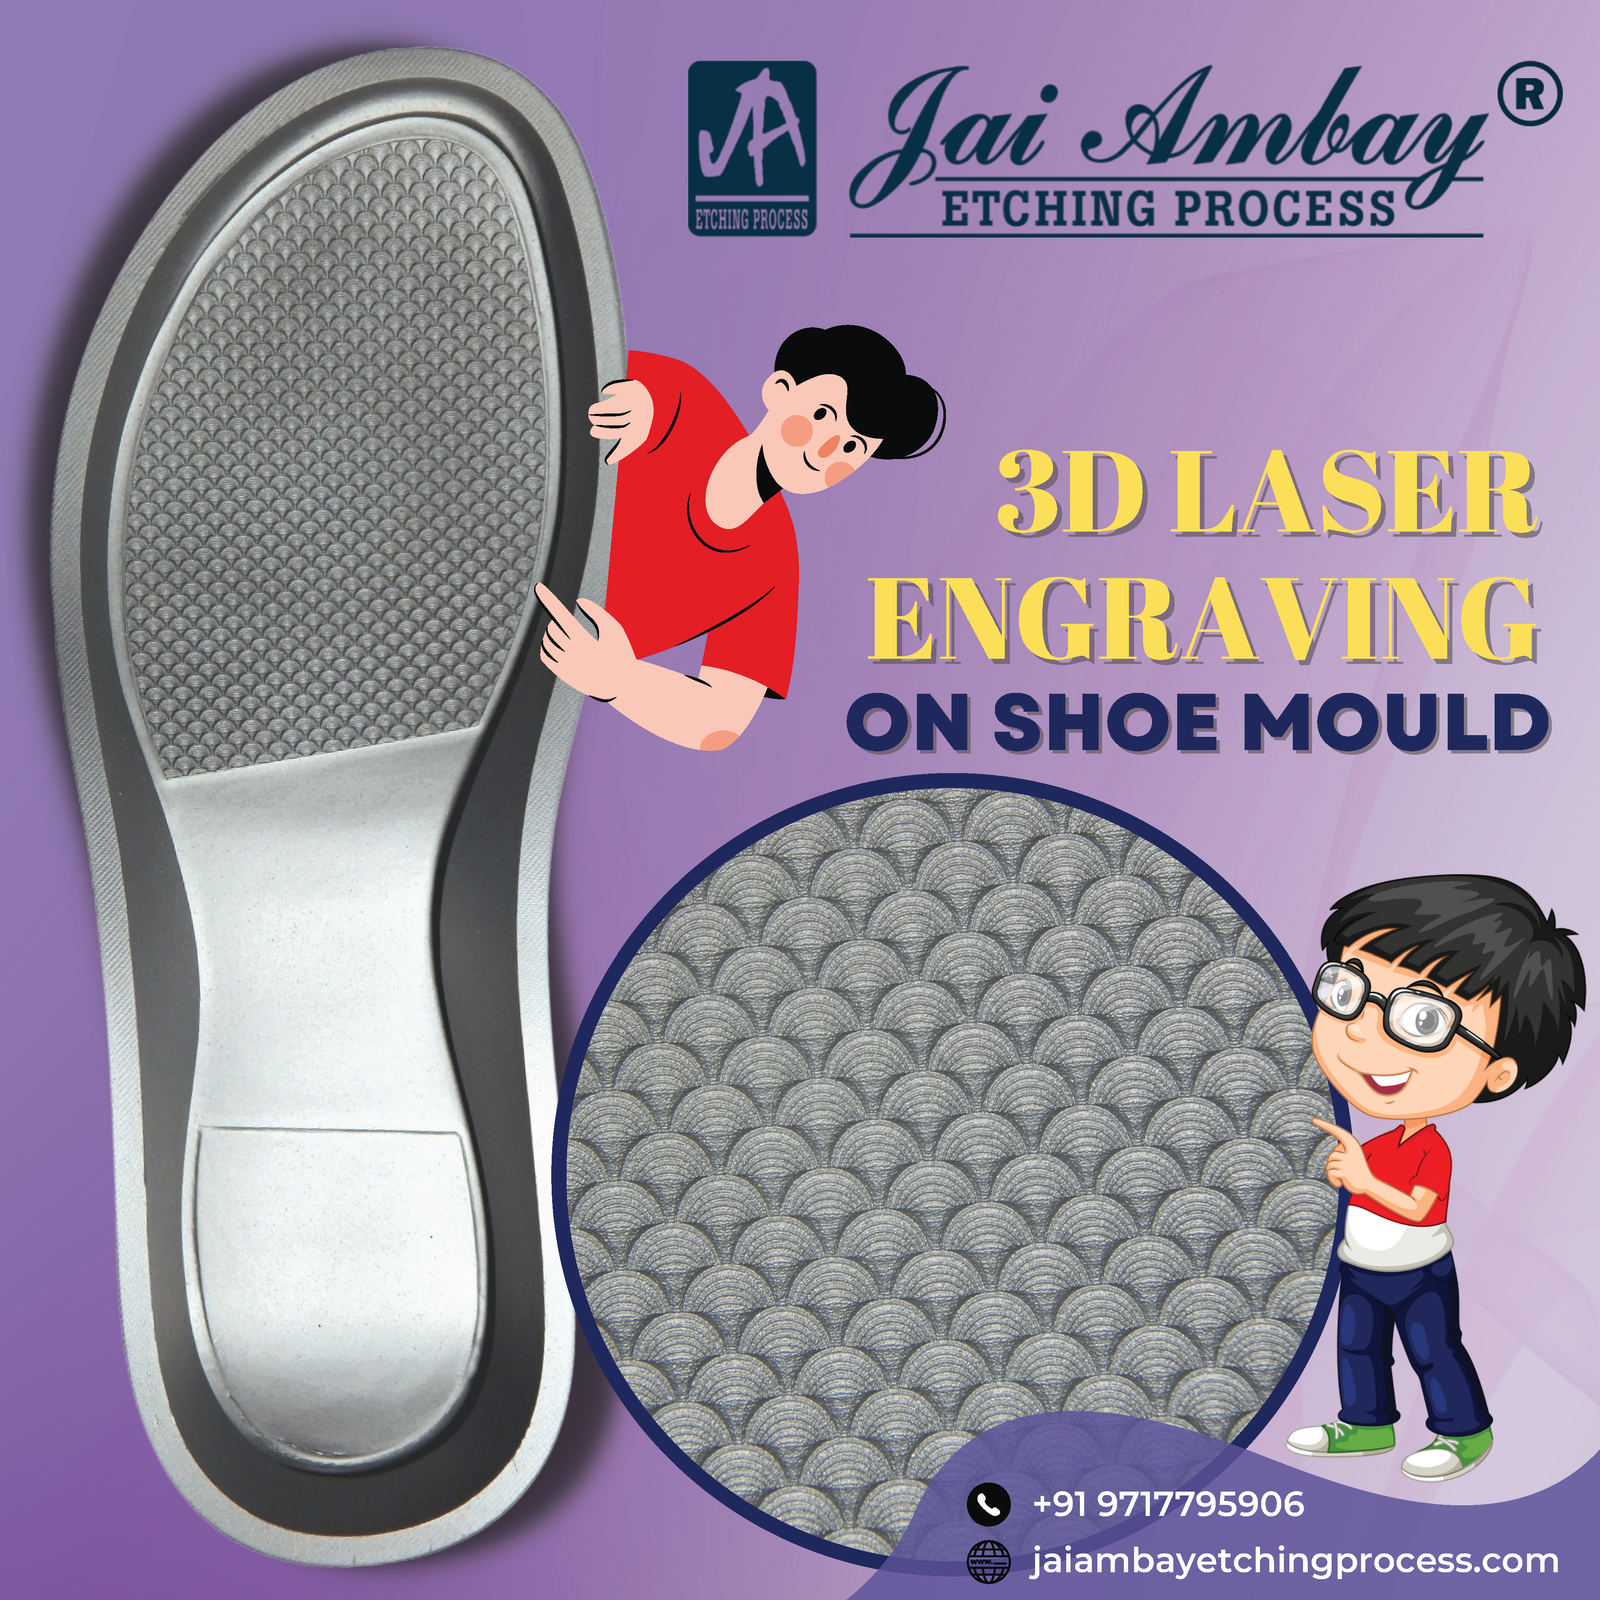
How Laser Engraving Works: A Step-by-Step Look at Moulds
Have you ever wondered how manufacturers keep track of their heavy industrial tools? Or how a specific cavity number stays visible on a mould after thousands of production cycles? The answer lies in a highly precise, permanent marking method. Today, we will explain how laser engraving works on injection moulds. We will break down the process into simple steps.
We provide expert mould services. We clean, repair, maintain, and mark your existing moulds to keep them running perfectly. If you need to mark your steel tools, a professional laser engraving service is the safest and most durable choice. Let us dive into the details.
What is Laser Engraving on Injection Moulds?
Laser engraving is a process that uses a focused beam of light to mark the surface of a material. When we talk about moulds, we are only talking about hard metals like tool steel, stainless steel, and aluminum. The laser beam heats a tiny spot on the mould surface. This intense heat changes the color of the metal or removes a microscopic layer of it. This creates a permanent, high-contrast mark.
Unlike other marking methods, laser engraving does not use ink, paint, or physical cutting tools. This means the mark will never fade, rub off, or peel away. For mould makers, this is critical. Moulds face extreme heat, high pressure, and harsh cleaning chemicals during plastic injection molding. A laser mark survives all of this. It is the best way to add cavity numbers, serial numbers, QR codes, or company logos directly onto the mould steel.
Why You Need a Professional Laser Engraving Service for Moulds
You might think you can mark a mould with a simple hand tool or a basic marker. However, industrial moulds require extreme precision. Here is why you should choose a professional laser engraving service for your tools:
- Permanent Durability: The mark becomes part of the metal. It will not wash away during mould cleaning or degrade under high injection pressures.
- Extreme Precision: A laser beam is thinner than a human hair. It can mark tiny serial numbers in tight spaces without affecting the mould’s function.
- No Physical Stress: Mechanical engraving uses a physical bit that pushes against the steel. This can cause micro-cracks or stress in hardened mould steel. Laser engraving is a non-contact process, so it keeps the steel structurally sound.
- Speed and Efficiency: A professional laser engraving service can mark a complex QR code or a full cavity number in seconds. This saves you valuable downtime.
The Step-by-Step Guide to Laser Engraving Your Moulds

Achieving a perfect mark requires a strict, methodical process. Our expert engineering team follows these exact steps to ensure top-tier quality every single time.
Step 1: Preparing the Mould for Laser Engraving
First, we must prepare the mould surface. We thoroughly clean the steel to remove all dirt, grease, plastic residue, and old oils. We use specialized industrial solvents and ultrasonic cleaners. If any oil or dirt remains on the surface, the laser beam will react poorly. This can cause an uneven or weak mark. A perfectly clean mould is the absolute foundation of good laser engraving. We also inspect the area to ensure there is no existing damage or deep rust that could interfere with the mark.
Step 2: Designing the Layout for Laser Engraving
Next, we create the digital design. We work closely with you to determine exactly what you need marked. This could be a simple cavity number like “Cavity 1 of 4,” a serial number, or a scannable QR code for mould tracking. We use advanced CAD software to map the exact location on the mould. We carefully choose the font size, depth, and contrast. We ensure the mark is placed on a flat or gently curved surface where the laser can focus perfectly. We never place a mark on a critical sealing surface or a high-wear area that could affect the plastic part.
Step 3: Executing the Laser Engraving Process
Now, the actual marking begins. We secure the mould firmly in our laser engraving machine. We use high-power fiber laser systems designed specifically for hard metals. The software sends the design to the laser scanner. The scanner directs the laser beam across the steel surface at incredible speeds.
The laser pulses rapidly, heating the metal. For mould steel, we usually use a process called “annealing” or “dark marking.” This heats the steel just enough to create a dark, oxide layer without actually removing any metal. This keeps the surface perfectly smooth. If a deeper mark is required, we adjust the laser to ablate (vaporize) a microscopic layer of the steel. The entire process is controlled by computers, ensuring every single line is perfectly straight and uniform.
Step 4: Final Inspection After Laser Engraving
After the laser finishes, we do not just hand the mould back. We perform a strict quality check. We clean the marked area again to remove any loose metal dust. Then, we inspect the mark under bright lights and magnification. We check the contrast, the depth, and the readability. We often use a barcode scanner to test QR codes right on the spot. Only when the mark meets our high standards do we apply a protective rust-preventative oil and prepare the mould for return.
Laser Engraving vs. Chemical Etching for Moulds
Sometimes, clients ask us about the difference between laser marking and other methods. It is helpful to understand how laser engraving compares to chemical etching.
Chemical etching uses strong acids to eat away the metal and create a mark or a texture. While chemical etching is excellent for creating large, uniform surface textures or very fine, shallow vents, it has drawbacks for simple identification marks. Chemical etching requires masking tapes, hazardous chemical handling, and longer processing times. It can also be less precise for tiny, detailed text.
Laser engraving, on the other hand, is digital, clean, and incredibly fast. It requires no chemicals, no masking, and no drying time. For adding serial numbers, logos, or cavity IDs, laser engraving is far superior in speed, safety, and precision. However, for specific surface finishes, we often recommend combining both methods based on your exact needs.
How Laser Engraving Fits Into Complete Mould Texturing
Laser engraving is not just for numbers and logos. It is also a vital part of modern mould texturing.
When a mould requires a complex, 3D surface texture (like a leather grain or a matte finish), we often use 5-axis laser texturing machines. These machines use the same core laser technology as engraving, but they move in five different directions. This allows the laser to follow the complex curves, ribs, and deep cavities of a mould perfectly.
Before we apply a broad surface texture, we might use laser engraving to mark the texture zone boundaries or add hidden texture identification codes inside the mould. This ensures that every time the mould is serviced or re-textured, our technicians know exactly which pattern to apply. Laser engraving and mould texturing work hand-in-hand to give your plastic parts a flawless, premium appearance.
Common Mistakes to Avoid in Mould Laser Engraving
Even though laser technology is advanced, human error can still cause problems. Avoid these common mistakes to protect your valuable tools:
- Marking Critical Surfaces: Never engrave on parting lines, sealing surfaces, or ejector pin holes. Even a microscopic change in these areas can cause plastic flash or mould leaks. Always choose a safe, non-functional area.
- Ignoring Steel Hardness: Different mould steels (like P20, H13, or S136) react differently to heat. If the laser settings are too high on very hard steel, it can cause micro-cracking. Always let an expert calculate the correct laser power and speed.
- Poor Contrast Choices: If you engrave too shallowly on a dark steel, the mark will be invisible. A professional service knows how to adjust the laser to create a high-contrast, easily readable mark.
- Skipping Post-Mark Protection: The heat from the laser can temporarily make the steel more vulnerable to rust. Always apply a protective oil immediately after the engraving process is complete.
Conclusion
Understanding how laser engraving works removes the mystery from mould maintenance. It is a clean, precise, and permanent way to identify, track, and manage your valuable injection moulds. By following a strict step-by-step process, we ensure that every mark is perfect, readable, and completely safe for the tool.
Remember, we are here to help your business succeed. We do not manufacture moulds or plastic parts. We provide top-tier, specialized mould services. If your moulds need clear, permanent identification, or if you need to repair and restore an existing tool, contact our expert team today. Let our years of engineering expertise help you maintain your moulds to the highest industry standards. Reach out to us to learn more about our professional laser engraving service and complete mould care solutions.
Frequently Asked Questions About Laser Engraving
To help you understand our mould services better, we have answered the most common questions below.
How deep does laser engraving go on a mould?
For standard identification marks, the depth is microscopic, usually between 0.01 mm and 0.05 mm. This is deep enough to be permanent and readable, but shallow enough that it does not affect the structural integrity of the mould steel. If you need a deeper mark, we can adjust the machine, but we always prioritize the safety of the tool.
Can laser engraving damage the mould steel?
When performed by trained professionals, no. We use precise fiber lasers that control the heat input perfectly. We avoid the “heat-affected zone” that causes micro-cracks. We tailor the laser speed, power, and frequency to match the specific hardness of your mould steel, ensuring a safe, clean mark every time.
Is laser engraving permanent on injection moulds?
Yes, it is completely permanent. Because the mark is created by altering the metal itself, it will not fade, rub off, or wash away. It will easily survive thousands of molding cycles, high temperatures, and aggressive mould cleaning chemicals.
Can you laser engrave on an already textured mould?
Yes, but it requires careful planning. We can engrave over a lightly textured area, but the texture might make the mark slightly harder to read. We usually recommend placing laser marks on a flat, polished “datum” area of the mould for maximum clarity.
Do you service all types of mould steels?
Yes. Our expert team has extensive experience working with all common mould steels. Whether your tool is made of P20, H13, S136 stainless steel, or aluminum, we have the right laser settings and expertise to mark it safely and effectively.
