



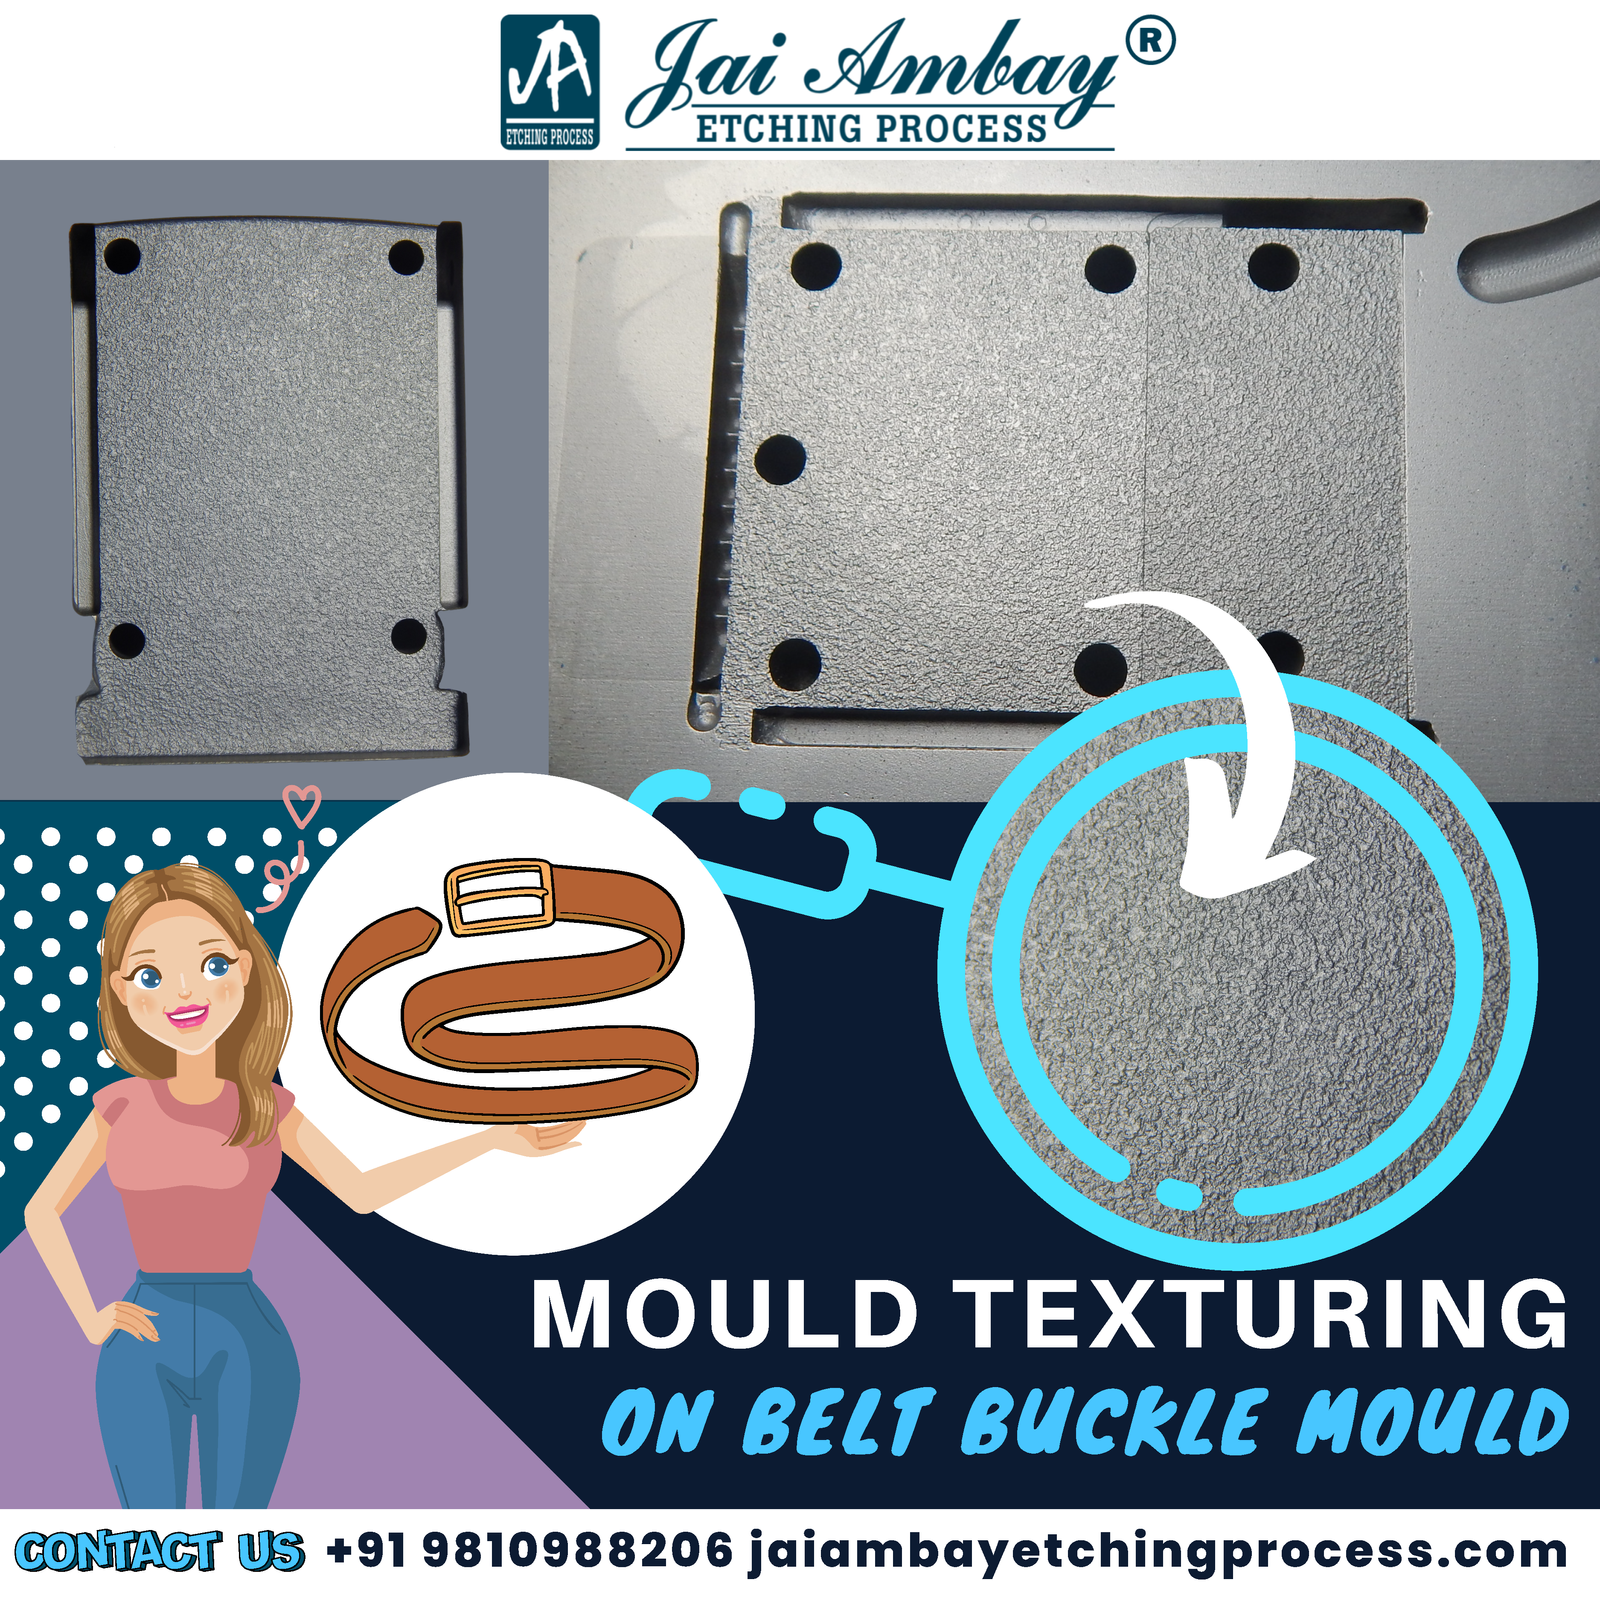
Can an Existing Mould Be Retextured? What to Check First
Table of Contents
An old mould does not always need to be replaced when its texture becomes damaged, uneven, or outdated. In many cases, manufacturers can restore the existing texture or apply a completely new pattern.
This process is called mould retexturing.
However, not every mould is ready for retexturing. The old texture, mould surface condition, scratches, repairs, and required texture depth must be checked before starting.
If the surface is not properly prepared, the new texture may look uneven or fail to match the required design.
This guide explains when retexturing existing moulds is possible, what to check first, which methods are available, and how to avoid costly mistakes.
What Is Mould Retexturing?
Mould retexturing is the process of restoring, changing, or replacing an existing texture on a mould surface.
Manufacturers usually choose this process when the original texture becomes worn, damaged, or no longer matches the required design.
Retexturing can involve:
- Restoring a worn texture
- Removing an old texture
- Applying a new pattern
- Repairing damaged texture areas
- Improving texture consistency
- Changing the texture depth
The required work depends on the mould condition and the final texture design.
In some cases, only a small area needs repair. In others, the entire textured surface may need preparation and a new pattern.
When Does an Existing Mould Need Retexturing?
A mould can develop surface problems after repeated production cycles.
Some problems are easy to notice, while others become visible only when the texture starts losing its original appearance.
1. Worn or Faded Texture
Regular mould use can slowly reduce texture depth.
The original grain may become lighter or uneven in certain areas.
Mould texture restoration can help bring back the required pattern when the surface condition allows it.
2. Scratches and Surface Damage
Scratches, dents, and other surface marks can damage the existing texture.
If the damage affects the pattern, simple cleaning may not solve the problem.
The damaged area may need polishing and retexturing.
3. Texture Does Not Match the Design
Sometimes manufacturers want to change mould texture because the required surface design has changed.
A new grain, matte finish, or custom pattern may be needed.
4. Uneven Texture Across the Mould
Some areas may appear deeper or lighter than others.
This can happen because of wear, previous repairs, or differences in surface preparation.
Retexturing may help restore a more consistent finish.
Can Every Existing Mould Be Retextured?
Not every mould can be retextured without preparation or repair.
The answer depends on its condition.
Before starting mould retexturing, the service provider should check:
- Existing texture depth
- Surface scratches
- Old repair marks
- Mould geometry
- Available surface allowance
- Required new texture
- Areas that need protection
The amount of metal that can safely be removed is especially important.
Removing too much metal may change the mould dimensions or affect its working surface.
For this reason, the mould should be inspected before confirming whether retexturing is possible.
What to Check Before Mould Retexturing
A proper inspection helps prevent problems during the process.
Check the Existing Texture
First, study the old pattern.
Is the texture completely worn, partly damaged, or simply different from the new requirement?
This helps decide whether the mould needs local repair or complete retexturing.
Check for Scratches and Repairs
Look for scratches, welding marks, dents, and damaged areas.
These defects may need correction before the new texture is applied.
Check the Mould Shape
Flat surfaces are usually easier to work on than curved areas, ribs, side walls, and deep pockets.
Complex mould shapes may need advanced texturing equipment.
Check the Required Texture Depth
A deeper pattern may require more metal removal.
The new texture must match the mould design and available surface allowance.
Check the Draft Angle
Draft angle helps the mould release properly during production.
If the new texture is deeper than the old one, the existing draft may not be enough.
The tool designer should review this before texturing.
How Does the Mould Retexturing Process Work?
The process depends on the mould condition, but most projects follow these steps.
Step 1: Mould Inspection
The team checks the existing texture, surface damage, and required new pattern.
They also identify areas that need special attention.
Step 2: Old Texture Removal
If necessary, the old texture is removed through suitable polishing or surface preparation.
The team must control metal removal to protect the mould dimensions.
Step 3: Surface Preparation
The surface is cleaned and prepared for the new texture.
Scratches, repair marks, and uneven areas may need correction.
Step 4: Texture Selection
The required pattern and depth are confirmed.
A texture reference helps the team understand the expected result.
Step 5: New Texture Application
The selected texturing method creates the new pattern on the mould.
Step 6: Final Inspection
The team checks texture consistency, pattern quality, depth, and visible defects.
This helps confirm whether the finished surface meets the agreed requirements.
Which Method Is Best for Retexturing Existing Moulds?
Two common methods are chemical etching and 5-axis laser texturing.
The right choice depends on the mould size, shape, texture design, and required accuracy.
Chemical Etching
Chemical etching uses special chemicals to create a pattern on the mould surface.
It remains useful for some very large mould surfaces and certain deep texture designs.
However, texture joint impressions or lines may sometimes remain visible, especially where different texture sections meet.
5-Axis Laser Texturing
5-axis laser texturing uses a controlled laser beam and digital design.
The machine can tilt the laser head and rotate the mould during the process.
This makes it suitable for:
- Curved mould surfaces
- Side walls
- Ribs
- Deep pockets
- Complex patterns
- Repeatable digital textures
It can also create seamless textures without visible texture joint lines.
For mould retexturing, the best method should be selected after inspecting the existing surface.
Can You Change Mould Texture Without Replacing the Mould?
In many cases, yes.
Manufacturers can change mould texture without making a completely new mould, provided the existing surface has enough allowance for the required work.
For example, a worn grain may be replaced with a new grain, or an old pattern may be changed to a fine matte texture.
However, changing the texture is not always a simple process.
The old pattern may need complete removal. Deep scratches or repairs may also require additional preparation.
The new texture depth and draft angle must suit the existing mould design.
Common Problems During Mould Texture Restoration
Retexturing requires careful planning because the mould already has a finished surface.
Uneven New Texture
If the old texture is not removed properly, the new pattern may appear uneven.
Visible Repair Marks
Welded or repaired areas may react differently during texturing.
These areas need careful inspection and preparation.
Incorrect Texture Depth
A new texture that is too deep may affect mould release or dimensions.
Visible Joint Lines
Chemical etching may sometimes leave visible texture joint impressions.
Excessive Metal Removal
Removing too much metal during polishing or old texture removal may affect the mould’s working dimensions.
A professional inspection helps reduce these risks before work begins.
Mould Retexturing vs Making a New Mould
Retexturing can be a practical option when the existing mould remains in good working condition.
| Mould Retexturing | New Mould |
| Uses the existing mould | Requires a new mould |
| Restores or changes the texture | Starts with a new surface |
| May reduce replacement costs | Usually needs higher investment |
| Requires surface inspection | Requires complete mould manufacturing |
| Suitable when dimensions remain acceptable | Needed when the old mould cannot be repaired |
Retexturing is not always the better option.
If the mould has major damage or insufficient surface allowance, repair or replacement may be necessary.
How Much Does Mould Retexturing Cost?
The cost of mould retexturing depends on the work required.
Important factors include:
- Mould size and weight
- Existing texture condition
- Surface damage
- Old texture removal
- New texture depth
- Mould geometry
- Selected texturing method
- Amount of polishing required
A small local texture repair may cost less than removing and replacing the entire pattern.
For an accurate quotation, share mould photographs, dimensions, and the required texture reference.
How to Choose a Mould Retexturing Service Provider
Choose a provider with experience in both mould surface preparation and texturing.
A reliable provider should:
- Inspect the existing texture
- Check mould damage
- Review surface allowance
- Recommend suitable polishing
- Help select the new texture
- Offer laser texturing and chemical etching
- Check the finished surface
Experience matters because retexturing existing moulds requires more care than applying a texture to a new, properly prepared surface.
Mould Retexturing at Jai Ambay Etching Process
Jai Ambay Etching Process has over 30 years of hands-on experience in mould texturing and surface finishing.
We provide services for moulds, injection moulds, and plastic moulds, including:
- 5-axis laser texturing
- Chemical etching
- Mould polishing
- 3D laser engraving
- Mould surface finishing
Our team reviews the existing texture, mould condition, required pattern, and surface preparation needs before recommending a process.
With modern 5-axis laser technology, we can work on many complex mould areas, including curved surfaces, ribs, side walls, and deep pockets.
Conclusion
Mould retexturing can help restore worn patterns, repair damaged textures, or change the surface design without replacing the entire mould.
However, the mould must be inspected before starting. Existing texture depth, surface damage, draft angle, and available metal allowance all affect the result.
If you are planning mould texture restoration, contact Jai Ambay Etching Process. Our experienced team can review your mould and recommend a suitable texturing method.
Frequently Asked Questions
1. Can an old mould be retextured?
Yes. Many old moulds can be retextured if their surface condition and dimensions allow safe texture removal and reapplication.
2. Can I change the texture on an existing mould?
Yes. You can change mould texture if the old pattern can be removed safely and the new design suits the mould.
3. Does mould retexturing require polishing?
Polishing may be required to remove old texture, scratches, or uneven areas before applying a new pattern.
4. Which is better for mould retexturing: laser or chemical etching?
Laser texturing offers digital control and seamless patterns. Chemical etching remains useful for some large mould surfaces and deep textures. The right method depends on the mould.
5. Can only one damaged texture area be repaired?
Sometimes. Local texture repair is possible when the pattern, damage, and surface condition allow it. Matching the surrounding texture may be difficult.
6. Is mould retexturing cheaper than replacing a mould?
It can be more economical when the existing mould is in good condition. The final cost depends on damage, preparation, and texturing requirements.
Add a concise decision checklistFix the inconsistent terminology
