


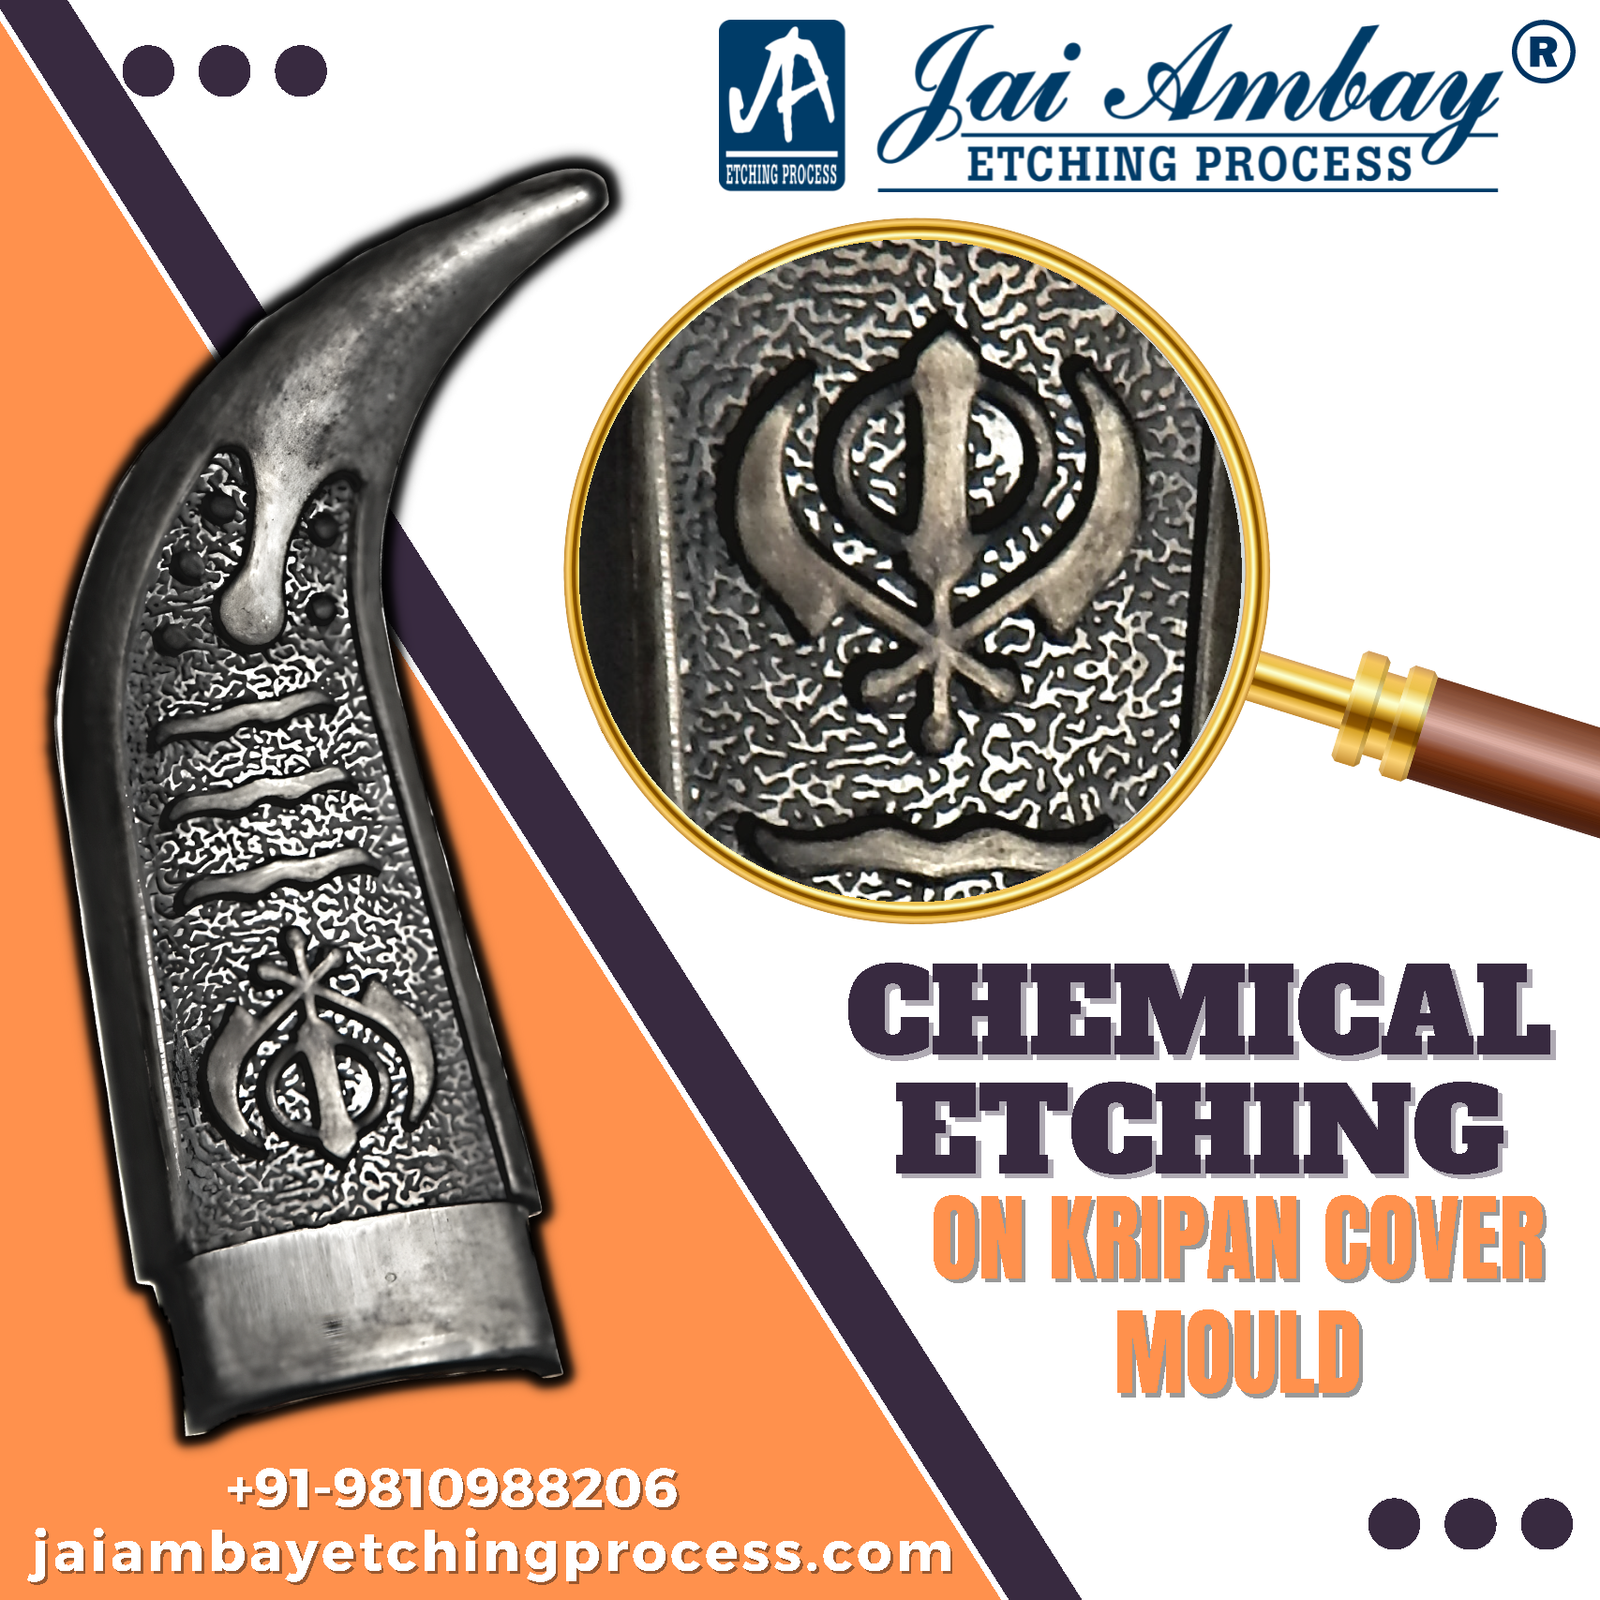
Chemical Texturing on Mold: Is Your Mould Ready for Etching?
Many mould makers and tool rooms face the same question before they send a tool for surface work. Is the mould truly ready for chemical texturing on mold? Rushing this step often leads to uneven depth, poor pattern transfer, or extra repair costs later.
Chemical texturing (also called chemical etching or mould texturing) creates controlled patterns on the steel surface. These patterns transfer to every plastic part that comes out of the mould. The result can look like leather, sand, stone, or fine geometric designs. When done correctly, chemical texturing improves grip, hides minor surface defects, reduces glare, and gives the final product a premium feel.
Jai Ambay Etching Process we have handled thousands of moulds over more than 30 years. We see the same preparation mistakes again and again. This guide explains exactly what you need to check so your mould is ready for chemical texturing. You will save time, money, and avoid rework.
What Is Chemical Texturing on Mold?
Chemical texturing on mold is a controlled corrosion process. Technicians apply a protective mask to the areas that must stay smooth. Then they expose the open areas to a carefully mixed etchant (commonly ferric chloride or similar solutions). The acid removes a thin layer of steel in a uniform way and creates the desired texture depth.
After etching, the surface is cleaned, neutralized, and often lightly blasted to set the final gloss. The whole process stays cold — no heat-affected zone appears. That is why chemical texturing works well on hardened tool steels such as P20, H13, and stainless grades.
Mould texturing by chemical method is especially useful for large flat or gently curved surfaces. It delivers natural-looking organic grains that many customers prefer for automotive interiors, consumer product housings, and appliance panels.
Why Mould Preparation Matters Before Chemical Texturing
A mould that looks clean to the eye can still fail during chemical texturing. Oil residue, weld marks, hardness variations, or sharp tool marks change how the etchant attacks the steel. The result is uneven depth, dark spots, or pattern distortion.
Proper preparation protects the investment you have already made in the tool. It also guarantees that the texture will look the same on every cavity and every production run.
Checklist: Is Your Mould Ready for Chemical Texturing on Mold?
Use this practical checklist before you ship the tool.
1. Surface cleanliness
Remove all oil, grease, rust preventives, and fingerprints. Special mould cleaners work better than ordinary solvents. Any remaining oil stops the etchant from attacking evenly and can cause the mask to lift.
2. Surface finish before texturing
Most chemical textures need a smooth base. Polish the cavity to at least SPI B or better. Deep machining marks or EDM white layers must be removed. The white layer left by EDM does not etch the same way as the base steel and often creates a cloudy or irregular appearance.
3. Weld repairs and hardness
Welded areas etch differently from the parent metal. Soft spots or hard spots show as lighter or darker patches. If the mould has recent welds, tell the texturing company. They can adjust the process or recommend a light pre-etch inspection.
4. Draft angles
Texture depth needs draft. A common rule is about 1.5 degrees of extra draft for every 0.025 mm of texture depth on surfaces that shrink away from the steel. Deeper leather grains need more draft. Check the design before you order the texture.
5. Masking areas and shut-offs
Decide which surfaces stay smooth (parting lines, shut-offs, logo areas, sealing faces). Mark them clearly on the drawings. Good masking protects these zones so the etchant never touches them.
6. Material and hardness information
Tell the service provider the exact steel grade and hardness. Stainless steels need different etchants and longer times than carbon steels. Knowing the material helps the team choose the right chemistry and avoid under-etching or over-etching.
7. Sample or texture reference
Supply a physical sample plaque or a clear Mold-Tech / VDI reference number. Verbal descriptions like “medium leather” are not enough. A physical master removes guesswork.
When you complete this checklist, your mould is ready for reliable chemical texturing.
Step-by-Step Chemical Texturing Process for Moulds
Here is the typical sequence we follow at Jai Ambay Etching Process for mould texturing:
- Incoming inspection and cleaning : We check the mould against the checklist above and clean every surface thoroughly.
- Masking : We protect all areas that must remain smooth with special tapes, waxes, or resistant coatings.
- Pre-etch test (chemical inspection) : A short dip shows how the steel reacts. Any soft spots, sand holes, or weld issues become visible early so we can plan corrections.
- Pattern application : For photo-chemical textures we apply a light-sensitive resist, expose the pattern with UV light, and develop the mask. For simpler grains we use spray or film methods.
- Controlled etching : The mould enters the etchant bath or receives a controlled spray. Time, temperature, and concentration decide the final depth. We monitor progress carefully.
- Neutralizing and cleaning : All acid residues are removed. The surface is rinsed and dried.
- Final surface treatment : Light sandblasting adjusts gloss and removes any remaining oxide. The texture now has the correct visual depth and feel.
- Quality check and protection: We measure depth, compare against the master sample, apply rust preventive, and pack the mould safely for return.
This systematic approach keeps the chemical texturing process repeatable and safe for the tool.
Benefits of Professional Chemical Texturing and Mould Texturing
- Uniform texture across large surfaces
- Natural organic look that laser methods sometimes find hard to match
- No heat or mechanical stress on the steel
- Cost-effective for high-volume production tools
- Excellent for hiding minor flow lines and sink marks on the plastic part
- Improved part release in many cases
- Wide range of standard and custom grains available
When combined with good draft and proper steel preparation, chemical texturing delivers consistent results for years of production.
Common Mistakes That Ruin Chemical Texturing Results
- Sending a mould with oil still on the surface
- Leaving EDM white layer or heavy tool marks
- Ignoring draft requirements for deep textures
- Not marking critical shut-off areas clearly
- Choosing a texture depth that is too aggressive for the available draft
- Expecting the same result on welded and non-welded zones without special attention
Avoid these issues and the chemical texturing on mold will succeed the first time.
How Jai Ambay Etching Process Handles Chemical Texturing on Mold
We specialize only in mould-related surface work. Our team has more than 30 years of hands-on experience with chemical texturing, photo-etching, and hybrid processes that combine laser placement with chemical finishing.
We work on injection mould cavities, cores, inserts, sliders, and large production tools. Every job receives controlled depth measurement and visual comparison to the approved sample. We also offer related services such as PTFE non stick coating and 5 axis laser texturing when a hybrid solution gives the best result.
Clients across automotive, consumer goods, lighting, and industrial sectors trust us because we treat every mould as a production-critical asset. We do not guess. We measure, document, and deliver repeatable quality.
Final Checklist Before You Send Your Mould
- Clean surface free of oil and rust preventive
- Proper polish level (no deep marks or EDM layer)
- Correct draft for the chosen texture depth
- Clear drawings showing masked areas
- Steel grade and hardness details
- Physical sample or standard reference
- Contact information for technical discussion
When these points are ready, your mould is prepared for successful chemical texturing.
Chemical texturing on mold remains one of the most reliable and economical ways to add value to plastic parts. The key is never the etchant alone — it is the condition of the mould that arrives at the texturing shop.
Prepare the tool carefully, choose the right partner, and the texture will look sharp, feel consistent, and perform for the full life of the mould.
If your next mould needs professional chemical texturing or mould texturing, contact the team at Jai Ambay Etching Process. We will review your drawings or sample, confirm readiness, and deliver the exact surface your product needs.
Call or write today and let us help you get the texture right the first time.
Frequently Asked Questions
How deep can chemical texturing go?
Typical depths range from a few microns for fine matte finishes up to 0.1–0.15 mm for deeper leather or stone effects. Deeper textures need more draft.
Can chemical texturing work on stainless steel moulds?
Yes. Stainless needs different chemistry and longer time, but the process is fully proven.
Is chemical texturing better than laser texturing?
Each method has strengths. Chemical texturing excels at large organic grains and cost-effective coverage. Laser texturing is better for complex 3D geometry and exact digital repeatability. Many tools benefit from a hybrid approach.
How long does the process take?
Simple textures on clean, well-prepared moulds can finish in a few days. Complex multi-cavity tools or deep custom patterns take longer. Clean preparation always shortens the timeline.
Will the texture affect mould life?
When done correctly, chemical texturing does not reduce tool life. In fact, the textured surface can distribute wear more evenly and hide minor scratches that would show on a polished surface.
