


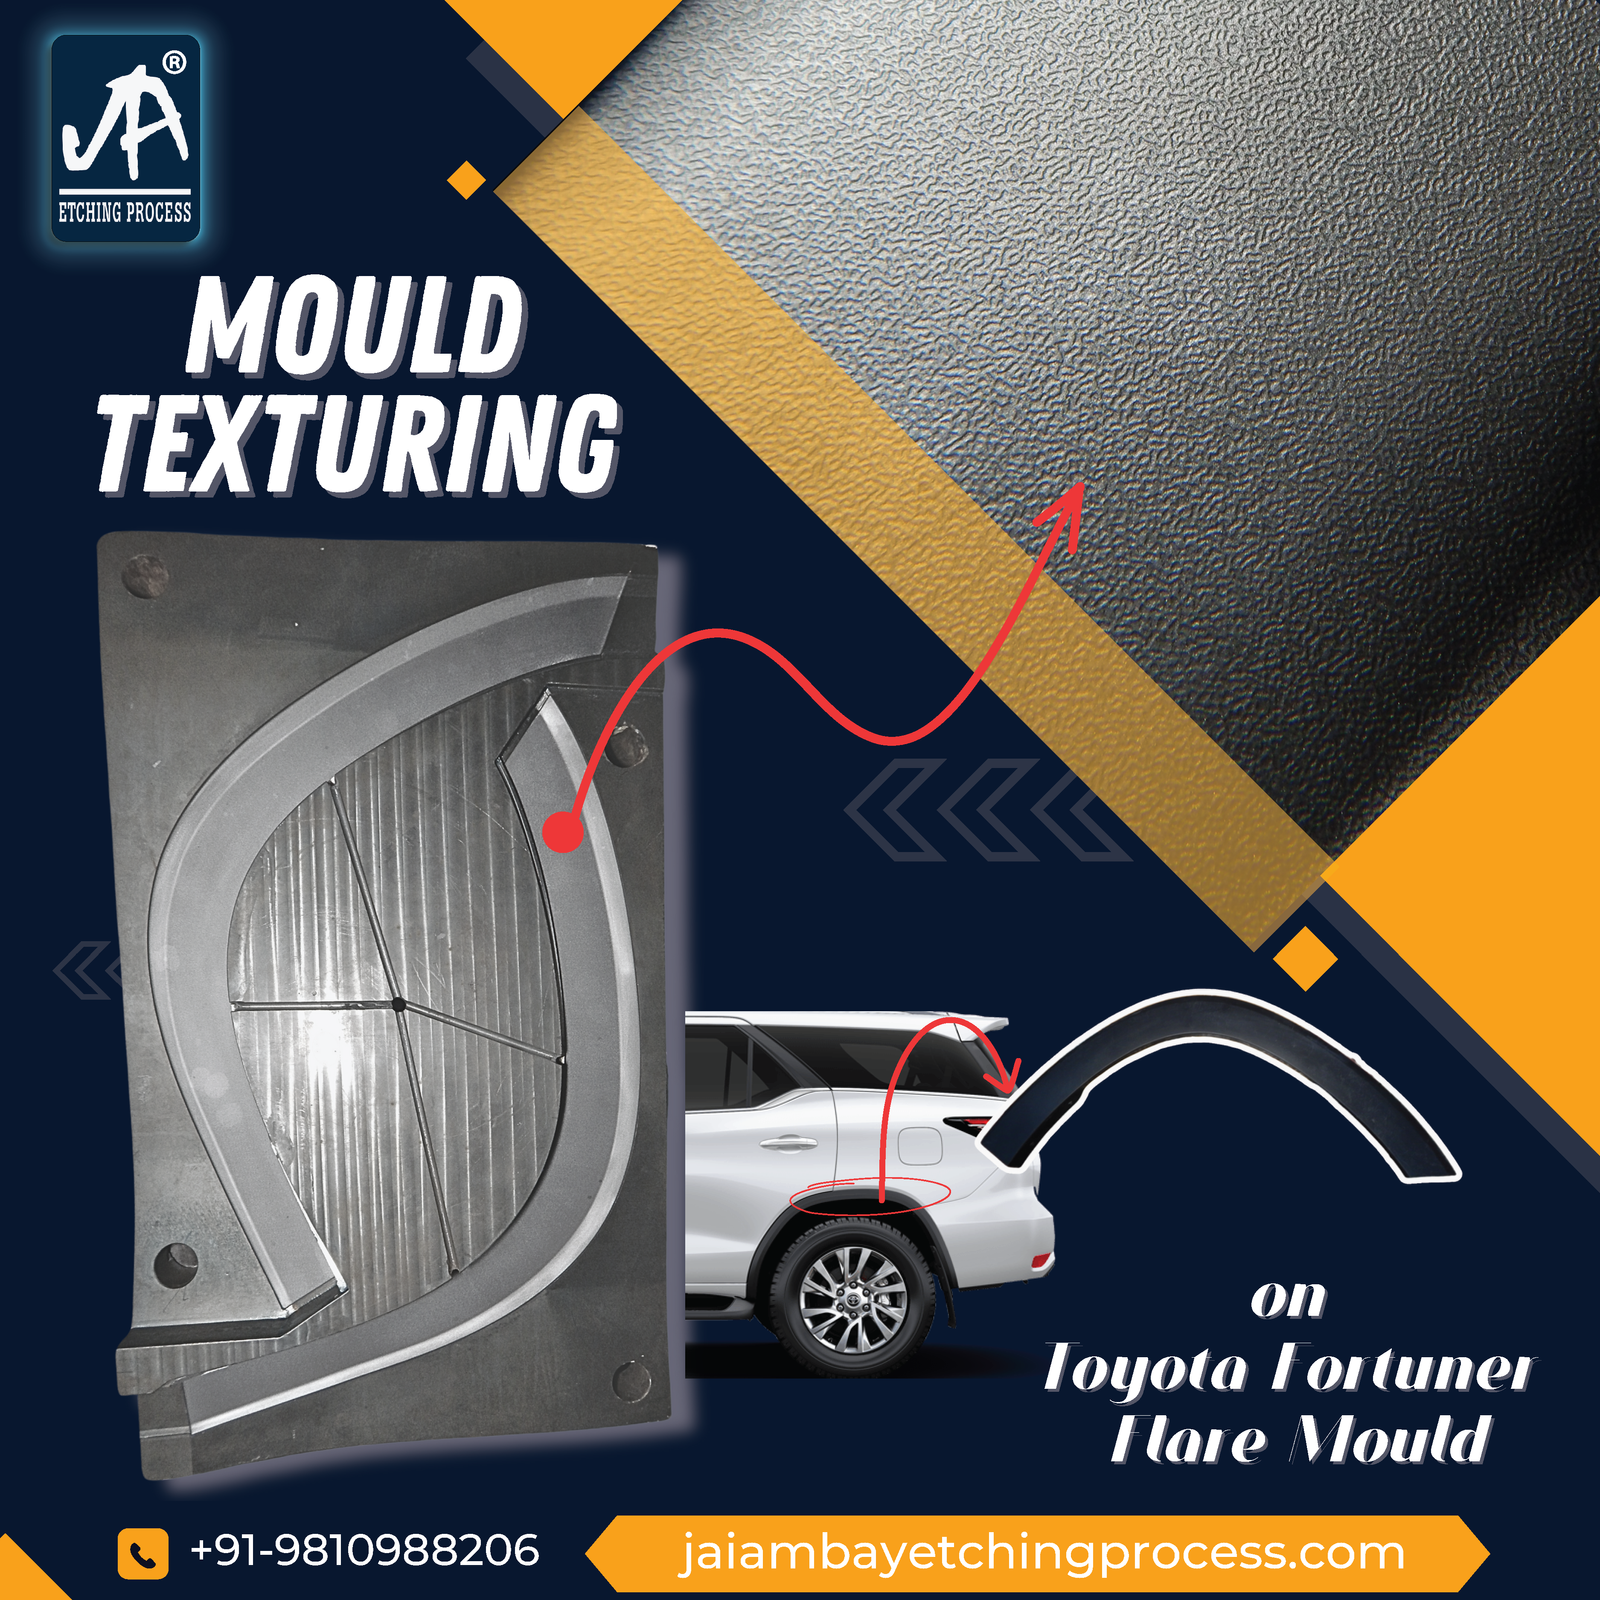
Mould Texturing for Injection Moulds: Texture Selection, Depth, Draft Angle, Defects and Applications
Table of Contents
A good texture can completely change how a mould performs and how the final surface looks. But mould texturing is not simply about choosing a pattern and applying it to the mould.
The texture design, depth, mould shape, draft angle, and surface preparation all need to work together. If one of these factors is wrong, the mould may develop problems such as uneven texture, visible marks, poor release, or texture differences between areas.
For this reason, manufacturers should plan injection mould texturing carefully before the texturing work starts.
This guide explains texture selection, texture depth, draft angle, common defects, applications, and the key points to check before choosing a mould texture service.
What Is Mould Texturing?
Mould texturing is the process of creating a controlled grain, pattern, or finish directly on a mould surface.
Common textures include:
- Fine matte textures
- Leather grains
- Geometric patterns
- Natural-looking grains
- Deep textures
- Custom digital patterns
The right mould surface texture depends on the mould design, required appearance, texture depth, and production needs.
Why Is Injection Mould Texturing Important?
Injection mould texturing helps create a planned surface appearance through the mould. Depending on the design, it can provide:
- Matte or grain effects
- Controlled surface gloss
- A specific surface feel
- Better visual consistency
- Custom patterns
- Consistent texture across multiple cavities
However, the same texture may not work equally well on every mould.
Flat areas, curved surfaces, ribs, side walls, and deep pockets can have different texturing requirements. This is why the mould should be reviewed before selecting a texture.
How to Select the Right Mould Surface Texture
Choosing a mould surface texture starts with the required appearance, but you should also consider the mould design.
1. Choose the Texture Design
First, decide the type of surface you need. It may be a fine matte finish, leather grain, geometric design, natural grain, or custom pattern.
A texture sample can help you understand how the pattern looks.
2. Check the Mould Shape
Study all areas where the texture will be applied, especially:
- Flat areas
- Curved surfaces
- Side walls
- Ribs
- Corners
- Deep pockets
Complex areas need careful planning to keep the texture even across changing surface angles.
3. Select the Right Texture Depth
Fine and deep textures have different requirements.
A deeper texture creates a stronger pattern but may also need more draft on side walls. Texture depth should therefore match the mould geometry and production requirement.
4. Check Texture Direction
Some patterns have a clear direction. The direction should remain natural across the mould.
Plan it before texturing, especially on curved or large mould surfaces.
Texture Depth in Mould Texturing
Texture depth means how deep the pattern goes into the mould surface.
It is an important part of plastic mould texturing. If the texture is too shallow, the required pattern may not appear clearly. If it is too deep, it may create release problems when the mould does not have enough draft.
The correct depth depends on:
- Texture design
- Mould geometry
- Draft angle
- Texture location
- Required appearance
- Production requirements
There is no single texture depth suitable for every mould. The mould and texture should be reviewed together before deciding the final depth.
How Draft Angle Affects Injection Mould Texturing
Draft angle is the slight angle provided on a mould wall to help with release.
It becomes more important when injection mould texturing is applied to side walls.
A smooth surface may require less draft. A textured surface is less smooth, and a deeper texture can require more draft.
For this reason, texture depth and draft angle should be planned together.
Before texturing side walls, check:
- Texture depth
- Wall angle
- Release direction
- Mould geometry
- Where the texture starts and ends
There is no single draft angle for every texture. The correct angle depends on the texture depth, mould design, and production conditions.
Surface Preparation Before Mould Texturing
A good texture needs a properly prepared mould surface.
Before mould texturing, inspect the surface for:
- Scratches
- Rust
- Old texture
- Polishing marks
- Repair or welding marks
- Surface damage
- Uneven areas
These defects can affect the final texture if they are not corrected.
Mould polishing may be required before texturing. A clean and even surface gives the texturing process a better base and helps achieve consistent results.
Common Mould Texturing Defects
Knowing the common problems can help prevent rework.
Uneven Texture
One area may look lighter or deeper than another. Poor surface preparation, difficult mould geometry, or incorrect process control can cause this.
Visible Texture Joint Lines
With chemical etching, there is a chance that texture joint impressions or lines may be visible on the mould.
This can happen when different texture sections need to be joined on large or complex mould surfaces.
Modern laser texturing allows seamless texturing without visible texture joint lines.
Stretched or Distorted Texture
A texture can look stretched on curves or steep side walls if the process cannot maintain the correct working angle.
Modern 5-axis laser texturing helps solve this problem because the laser head can tilt and the mould can rotate during texturing.
Uneven Texture Depth
Changes in texture depth can make the surface look inconsistent. Correct mould positioning, preparation, and process control help maintain an even texture.
Release Problems
Deep texture combined with insufficient draft can make release difficult.
This is why manufacturers should review the draft angle before applying deep textures to side walls.
Laser Texturing vs Chemical Etching
A professional mould texture service should select the method according to the mould, not use the same process for every project.
5 Axis Laser Texturing
5 axis laser texturing uses a digital design to create texture directly on the mould.
Unlike traditional 3 axis machine, modern 5 axis machine can tilt the laser head and rotate the mould. This helps maintain the correct working angle on:
- Curved surfaces
- Side walls
- Ribs
- Deep pockets
- Complex mould areas
Because the design is digital, the same pattern can be repeated with high consistency. Another major advantage is seamless texturing without visible texture joint lines.
Chemical Etching
Chemical etching uses special chemicals to create texture on a mould. Areas that should remain smooth are protected, while chemicals remove a controlled amount of metal from uncovered areas.
Chemical etching remains useful for some very large mould surfaces and certain deep texture designs.
However, there is a chance that texture joint impressions or lines may be visible on the mould.
The right process depends on mould size, shape, texture depth, pattern, and required consistency.
Applications of Plastic Mould Texturing
Plastic mould texturing is used on injection moulds that require a controlled surface design.
Common applications include moulds for:
- Automotive interiors
- Dashboards
- Door trims
- Home appliances
- Electronic housings
- Consumer products
- Packaging
- Control panels
- Handles and grips
Each application may require a different grain, depth, gloss level, and texture direction.
Instead of using the same pattern everywhere, select the texture according to the actual mould and required result.
How to Choose a Mould Texture Service
A professional mould texture service should do more than apply a pattern. The provider should inspect the mould and understand the required result before starting work.
Look for a service provider that can:
- Inspect the mould surface
- Review complex mould geometry
- Help with texture selection
- Check texture depth
- Review draft-related concerns
- Provide mould polishing
- Offer laser texturing and chemical etching
- Work on curved and deep mould areas
- Check the finished texture
Experience with different mould shapes and texturing methods helps the provider recommend the right process for each project.
Mould Texturing at Jai Ambay Etching Process
Jai Ambay Etching Process has over 30 years of hands on experience in mould texturing and surface finishing.
We provide services for moulds, injection moulds, and plastic moulds, including:
- 5 axis laser texturing
- Chemical etching
- Mould polishing
- 3D laser engraving
- Mould surface finishing
Before starting work, our team reviews the mould shape, surface condition, texture design, and required result.
Our modern 5 axis laser technology allows us to create accurate and seamless textures on complex mould
Plan Injection Mould Texturing Early
Do not leave injection mould texturing until the last stage without planning.
Before finalising the mould, review the texture pattern, depth, draft angle, mould geometry, and surface condition.
Early planning helps identify difficult areas and reduces the chance of rework after the mould is complete.
It also helps the toolmaker and texturing specialist work toward the same surface requirement.
Conclusion
Successful mould texturing depends on more than choosing a good-looking pattern.
Texture depth, draft angle, mould geometry, surface preparation, and the texturing method all affect the final result.
5-axis laser texturing provides accurate, repeatable, and seamless patterns for many complex mould surfaces. Chemical etching remains useful for some very large mould surfaces and certain deep texture designs.
If you are unsure which mould surface texture or texturing process is right for your mould, Jai Ambay Etching Process can review your requirements and recommend a suitable mould texture service.
Frequently Asked Questions
1. What is mould texturing?
Mould texturing creates a controlled grain, pattern, or finish directly on a mould surface.
2. Why is draft angle important for injection mould texturing?
A deeper texture can make release more difficult on side walls. The correct draft angle helps support easier release.
3. How do I choose the right texture depth?
Choose texture depth according to the pattern, mould geometry, draft angle, and required surface appearance. There is no single depth suitable for every mould.
4. Can curved mould surfaces be textured?
Yes. Modern 5-axis laser texturing can create textures on curved surfaces, side walls, ribs, and deep pockets by adjusting the laser angle and mould position.
5. Can mould texturing leave visible joint lines?
Chemical etching may sometimes leave visible texture joint impressions or lines. Laser texturing allows seamless patterns without visible texture joints.
6. Is mould polishing required before texturing?
It depends on the mould surface. If scratches, old texture, damage, or uneven areas are present, mould polishing may be required before texturing.
